Introduction: Ditch the Guilt, Not the Scraps
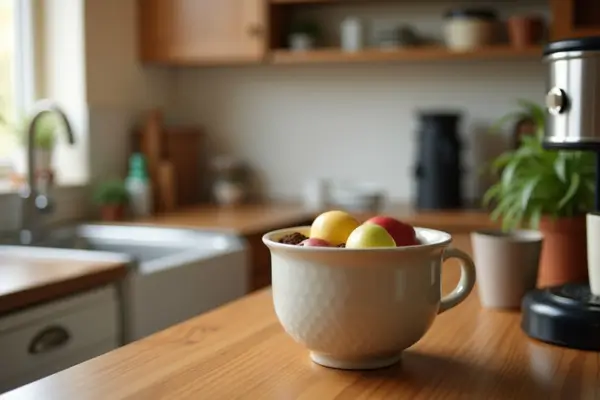
You’re standing over the kitchen trash can, looking down at a day’s worth of food scraps. A tangle of potato peels, the gritty remnants of morning coffee grounds, a pile of eggshells—all of it destined for a plastic bag and a long, stagnant eternity in a landfill. For a moment, a pang of guilt hits. You know this nutrient-rich waste could be so much more, but without a backyard or even a balcony, what other option do you have?
If this sounds familiar, you’re not alone. Many of us want to reduce our waste and compost, but we’re held back by the belief that it requires a sprawling garden or a hidden corner of an outdoor space. The dream of turning kitchen scraps into rich soil feels out of reach for apartment dwellers and those without a patch of green.
Well, we’re here to bust that myth wide open. Indoor composting is not only possible, but it can also be surprisingly clean, convenient, and incredibly rewarding. You can harness the power of decomposition right in your kitchen, without any mess or smell.
In this article, we’ll explore three foolproof methods for turning your kitchen waste into “black gold” right inside your home. Get ready to close the loop on your food waste and discover a new, gratifying daily habit.
Why Bother? The Amazing Benefits of Indoor Composting
So, why go through the “trouble” of composting indoors? The rewards are far greater than you might think, transforming a simple habit into a powerful act with benefits that extend from your own home to the planet.
1. Be a Landfill Hero: Reduce Your Trash Footprint Let’s start with the big picture. When food scraps decompose in an oxygen-starved landfill, they release methane—a potent greenhouse gas that’s far more damaging than carbon dioxide. By composting, you’re diverting this organic waste from the trash stream. You’ll be amazed at how quickly your regular household garbage shrinks, leading to fewer trash bags, less odor in your kitchen, and the profound satisfaction of knowing you’re actively reducing your environmental impact every single day.
2. Create Free, “Black Gold” Fertilizer Forget buying expensive, packaged plant food from the store. Indoor composting transforms your waste into the most nutrient-rich, natural fertilizer you can find—often called “black gold” by gardeners. This powerful stuff is teeming with beneficial microbes that supercharge your soil. Whether you’re nurturing a collection of houseplants, growing herbs on a sunny windowsill, or simply want to gift something incredible to your gardening friends, this homemade compost is a free, endless resource that your plants will love.
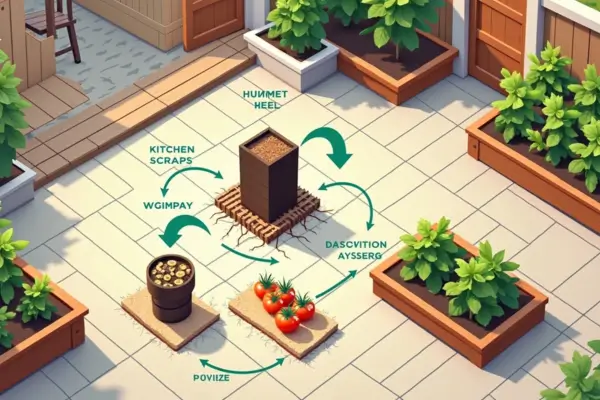
3. Connect with the “Cycle of Life” in Your Kitchen Beyond the practicalities, there’s a simple magic to composting. It creates a tangible, satisfying connection to the natural cycle of growth and decay, right in the heart of your home. That coffee ground from your morning brew and the apple core from your snack don’t have to be the end of the line. They become the beginning of new life. This act of “closing the loop” is a small but profound way to live more consciously, turning what was once considered waste into a valuable resource. It’s a daily reminder that you are part of a sustainable ecosystem, even within four walls.
Method 1: The Wriggling Workforce (Vermicomposting)
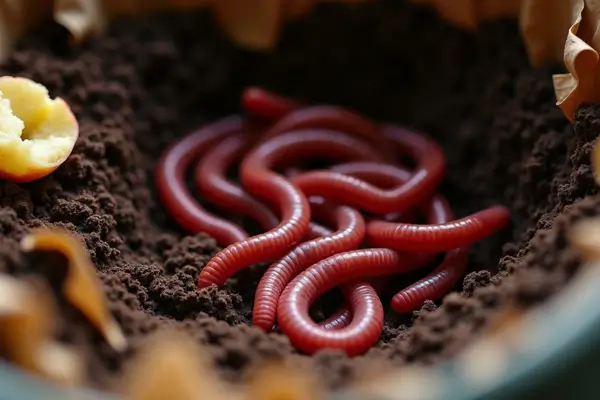
If you don’t mind a few quiet, hard-working roommates, vermicomposting is one of the most efficient and rewarding ways to compost indoors. This method employs a team of special worms—typically Red Wigglers—to naturally break down your food scraps into incredibly rich compost.
Best For: The budding eco-enthusiast who isn’t squeamish and wants a highly productive, natural system.
The Vibe: Think of it as keeping a low-maintenance pet that also happens to be a waste disposal powerhouse. It’s a quiet, odor-free, and fascinating ecosystem right under your sink.
The Setup:
- What You Need: You can invest in a tiered, stackable worm bin (the most user-friendly option) or create a simple DIY system using two plastic storage totes.
- The Stars of the Show: You cannot use garden-variety earthworms. You need Red Wigglers (Eisenia fetida), which are composting champions. You can find them at local garden centers, fishing bait shops, or from online suppliers.
- Bedding: This is the worms’ home. Shredded non-glossy newspaper, cardboard, or a brick of coconut coir soaked in water provides the perfect carbon-rich material for them to live in.
How It Works:
- Prepare the bin with moist bedding.
- Add your worms and let them settle in.
- Bury your kitchen scraps in a different section of the bin each time, covering them with bedding to prevent fruit flies.
- The worms will eagerly eat the scraps and bedding, producing their waste, known as worm castings—which is the finished, nutrient-dense compost.
Pros:
- Highly Efficient: Worms work around the clock, breaking down waste relatively quickly.
- Double the Reward: You get solid compost and a liquid fertilizer known as “worm tea,” which can be drained from the bin and diluted to feed your plants.
- Odor-Free: When maintained correctly (not overfed), a worm bin produces no bad smells.
Cons:
- Steeper Learning Curve: It requires a bit more initial setup and knowledge to get the moisture and food balance right.
- Requires Care: You are caring for living creatures. They need to be kept in a specific temperature range (usually between 55-80°F) and have specific dietary limitations.
- Picky Eaters: You must avoid feeding them citrus, onions, garlic, meat, dairy, and oily foods, which can harm the worms or create odors
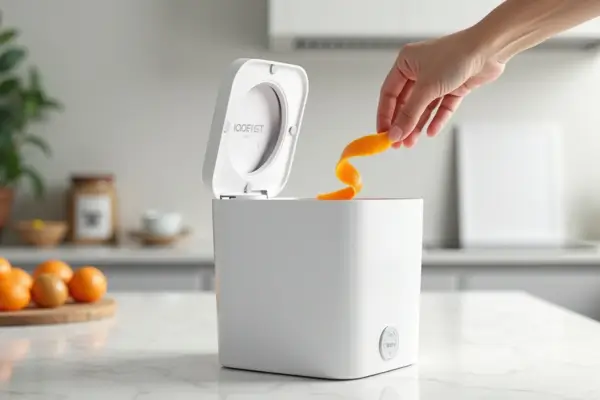
Method 2: The Set-It-And-Forget-It (Electric Composter)
For those who love modern convenience and want to eliminate any potential “ick” factor, the electric composter is a game-changer. This countertop appliance uses heat, grinding, and aeration to rapidly break down food scraps into a dry, soil-like material overnight.
Best For: Tech-savvy individuals, busy families, and anyone seeking the absolute easiest, most hands-off method available.
The Vibe: Consider this the Keurig or microwave of composting—fast, incredibly convenient, and designed with a sleek aesthetic that looks right at home on your kitchen counter.
The Setup:
- What You Need: An electric composter, such as a Lomi or Vitamix FoodCycler. That’s it!
- The Process: It truly could not be simpler. Plug the unit into a standard outlet, and you are ready to start composting immediately.
How It Works:
- Collect your food scraps throughout the day.
- Add them to the machine’s bucket.
- Press the button to select a cycle (typically 3-8 hours).
- The machine does the rest—grinding, heating, and cooling the material.
- Return to find a bucket of fine, dry, and odorless “compost” that is ready to use.
Pros:
- Unbeatable Convenience: It’s the fastest method by far, transforming waste while you sleep or go about your day.
- Truly Odor and Pest Free: The closed-system process prevents any smells or fruit flies from becoming an issue.
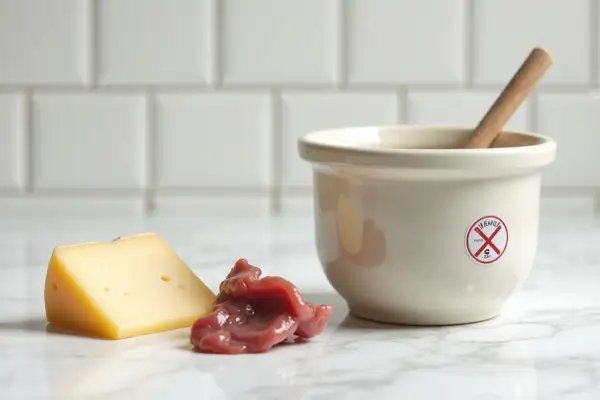
- Broad Diet: It can handle a much wider variety of scraps than worm bins, including meat, dairy, small bones, and avocado pits, which are typically no-gos for other indoor methods.
Cons:
- High Upfront Cost: This is the most expensive indoor composting option, with units representing a significant investment.
- Uses Electricity: It adds a small, but consistent, amount to your energy bill.
- Not “True” Compost: It’s important to understand that the end product is dehydrated and sanitized organic matter, not living compost teeming with microbes. For best results, it should be mixed into garden soil or added to an outdoor compost bin to fully mature and integrate with the ecosystem.
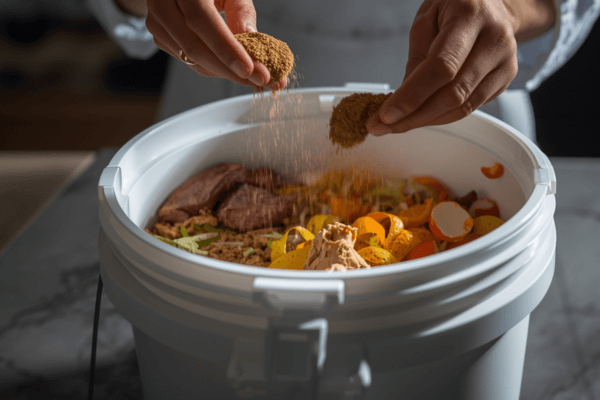
Method 3: The Fermentation Powerhouse (Bokashi Composting)
Ready for a little kitchen alchemy? Bokashi composting is a unique, anaerobic process that ferments your food waste using a special inoculated bran. It’s less about decomposition and more about pickling your scraps, preparing them to become a potent soil booster.
Best For: The DIY enthusiast, the serious home cook who generates a lot of varied waste, and anyone determined to compost everything, including meat, dairy, and cooked foods.
The Vibe: A compact, efficient science experiment sitting on your countertop. It’s a hands-on method that feels both modern and deeply connected to a natural biological process.
The Setup:
- What You Need: The core system is a specialized Bokashi bucket—an airtight container with a spigot at the bottom to drain liquid. While you can DIY a version, the purpose-built buckets are highly effective. Your other essential supply is Bokashi bran, which is grain (like bran or sawdust) infused with beneficial microorganisms.
How It Works:
- Layer and Sprinkle: Add a layer of your food scraps to the bucket, then sprinkle a handful of Bokashi bran over them. Press down to remove air pockets and repeat.
- Drain the “Tea”: Every few days, use the spigot to drain the liquid that accumulates. This is nutrient-rich Bokashi tea, which can be diluted and used as a powerful fertilizer.
- Ferment and Bury: After the bucket is full, let it sit sealed for about two weeks to ferment. The contents will become “pre-compost”—it hasn’t fully broken down yet. This pre-compost must be buried in soil (like in a large outdoor planter, garden bed, or a friend’s yard) where it will quickly finish decomposing and enrich the earth.
Pros:
- The Ultimate Diversion: This is the only indoor method that confidently handles all food scraps, including meat, bones, dairy, and cooked leftovers.
- Space-Saving: The bucket system is very compact and can fit neatly under a sink or in a corner.
- Fast Fermentation: The initial fermentation process is quick and happens entirely within the sealed, odor-proof container.
Cons:
- A Two-Step Process: The major caveat is that Bokashi requires a second step. You must have a place to bury the fermented waste to complete the process.
- Ongoing Cost: You will need to continually purchase Bokashi bran to keep the system running.
- Potent Aroma: The liquid “Bokashi tea” has a strong, sweet-and-sour smell reminiscent of pickles or vinegar that some may find unpleasant.
Choosing Your Champion: A Quick Comparison Guide
Feeling a little overwhelmed by the choices? No worries! This quick comparison chart will help you see the key differences at a glance and pick the perfect method for your home and lifestyle.
| Method | Cost | Effort | Best For… | Can handle meat/dairy? |
| Vermicomposting | Low – Medium | Medium | The hands-on naturalist | No |
| Electric Composter | High | Low | The busy tech-lover | Yes |
| Bokashi | Medium | Medium – High | The serious food-waster / DIYer | Yes |
Getting Started: Your First Steps
Don’t feel pressured to choose the “perfect” method right away. The best system is the one that fits seamlessly into your life and that you’ll actually use consistently.
Your First Actionable Tip: Before you buy a single bin or a worm, try this: for one week, collect all your compostable food scraps in a sealed container or bag that you keep in the freezer. This simple habit does two things: it completely prevents any smells or fruit flies in your kitchen, and it gives you a crystal-clear picture of how much waste you actually generate. This intel is invaluable for deciding the right size and type of system for your home.
Remember, you are about to join a growing community of indoor composters who are making a real difference, one apple core at a time. This small step is a powerful act for a more sustainable home and planet. You’ve got this
Conclusion: Your Indoor Garden Awaits
As we’ve seen, the dream of composting is no longer locked away for those with a backyard or a balcony. Whether you’re drawn to the wriggling efficiency of Vermicomposting, the push-button convenience of an Electric Composter, or the fermentation power of Bokashi, you have a powerful and practical option right at your fingertips.
So, imagine the future: your houseplants are lusher and healthier than ever, fed by the “black gold” you created yourself. Your kitchen trash can is noticeably lighter and less prone to odors. And you carry the quiet, daily satisfaction of knowing you’re actively giving back to the earth, transforming what was once waste into a resource for new growth.
The door to a greener, more sustainable lifestyle is open. All that’s left to do is take that first step. Your indoor garden—and the planet—are ready and waiting.

